

Hello There!
When you picture a homestead garden, you probably imagine rows of lush veggies, a little white fence, maybe even a scarecrow in overalls. I imagined that too. But sometimes, life says, “Not yet.” Our house isn’t finished, and with construction timelines still shifting, a traditional garden just isn’t in the cards this season.
But guess what is? Grow bags.


Yep, we’re turning this waiting period into a grow season—with the help of these flexible, fabulous, and totally underestimated little fabric wonders. And let me just say, if you’ve never tried growing in bags, you might be surprised just how easy (and rewarding) it can be.
Why Grow Bags?
Grow bags are perfect for semi-homesteaders like us who are somewhere in between building the dream and living it. Here’s why we love them:
- No garden? No problem. All you need is a sunny spot—porch, driveway, patio, even a balcony.
- They’re budget-friendly. No raised beds or fancy equipment required.
- They’re portable. You can move your plants to follow the sun, or bring them inside if a late frost sneaks up.
- They breathe. Unlike plastic pots, grow bags allow for air pruning of roots, which helps plants grow stronger and healthier.
- They’re beginner-friendly. With just a few tools and some soil, you can get started in under 30 minutes.
- They don’t require digging. Perfect for renters, urban dwellers, or anyone who doesn’t want to break ground.
What We’re Growing
We’re keeping it practical and tasty this year, filling our grow bags with:
- Tomatoes – Cherry and Roma types thrive in bags (just don’t forget the cages or stakes!).
- Peppers – Bell, banana, and jalapeños love a warm spot and a grow bag to call home.
- Lettuce & Spinach – Fast-growing and easy to harvest in rounds.
- Herbs – Basil, thyme, oregano, parsley, and mint are growing like champs near our front steps.
- Green Beans – A bush variety does beautifully in a deep grow bag with a little support.
- Zucchini or Summer Squash – One plant per large bag can give you plenty of harvest.
- Radishes and Beets – Perfect for shallower bags and ready in just a few weeks.
- Cucumbers – Especially bush varieties, these climb well on a small trellis propped behind a bag.
A Few Tips from Our Semi-Homesteader Life


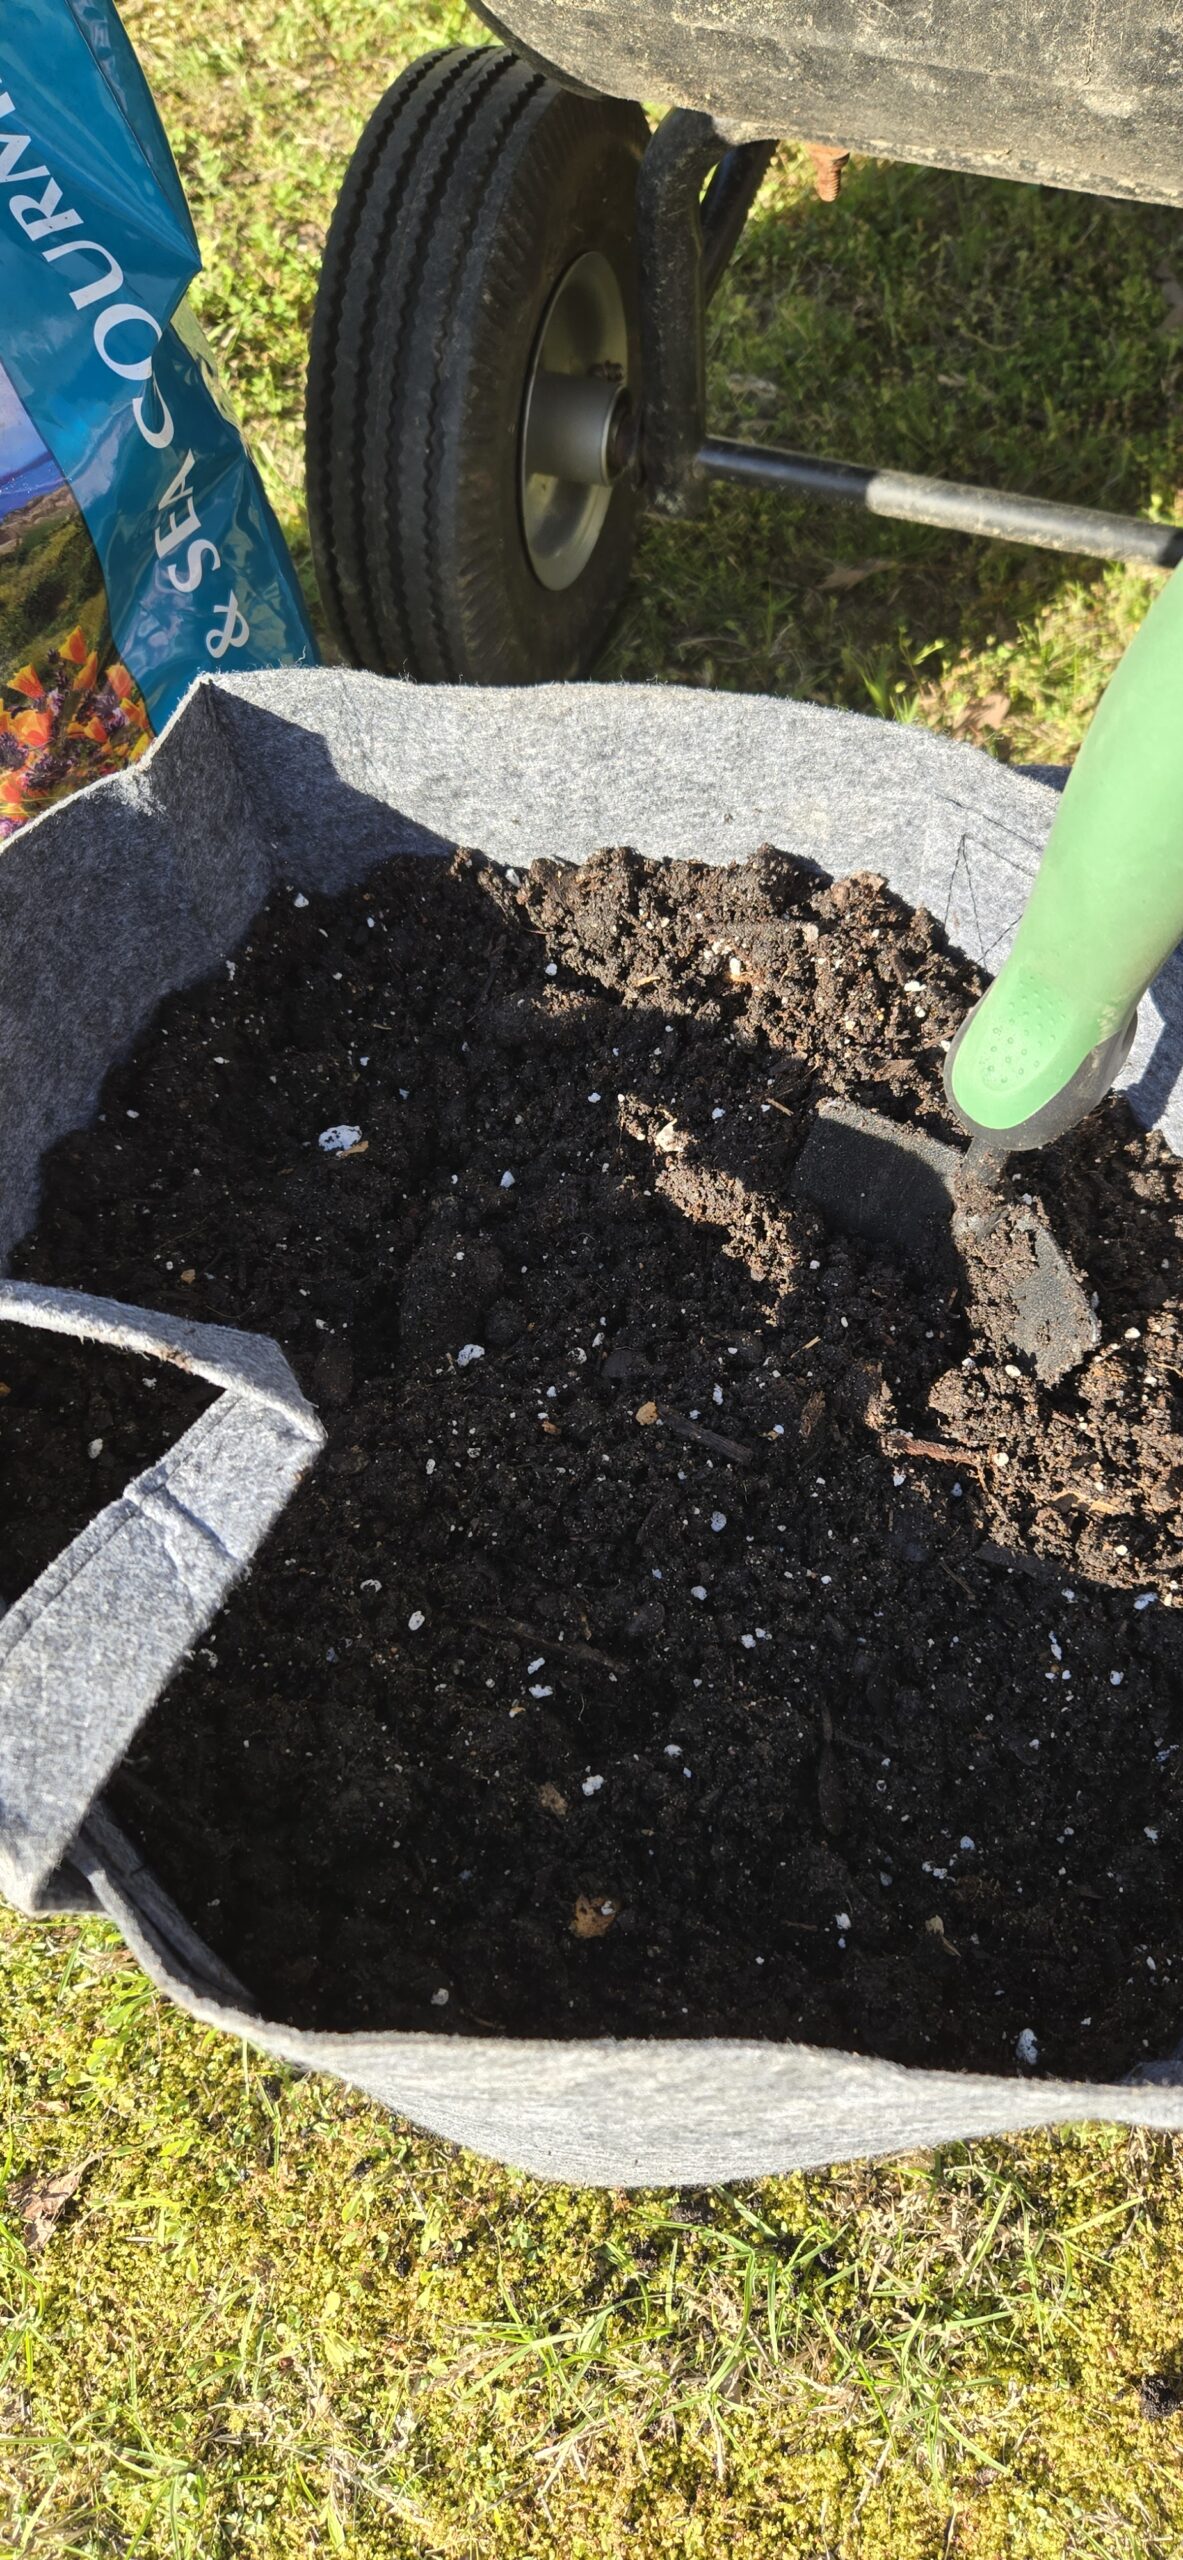
- Use good soil. We mixed compost with organic potting mix for a rich, fluffy base.
- Water often. Grow bags dry out faster than the ground, so check them daily.
- Feed your plants. A little fish emulsion, compost tea, or organic veggie food goes a long way.
- Label them! You will forget what you planted where—trust me.
- Group them smartly. Place sun-loving plants in full light and leafy greens where there’s some shade in the afternoon.
- Use mulch. A light layer of straw or dried leaves helps retain moisture and keep the roots cool.
Don’t Wait for Perfect
One of the biggest lessons we’ve learned in this season of transition is: don’t wait for perfect conditions to begin. We could’ve said, “We’ll garden when the house is done,” but that would’ve meant missing out on fresh tomatoes, the joy of watching seeds sprout, and that indescribable satisfaction of eating something you grew yourself.
If you’re in an apartment, renting, building, or just don’t want to dig up your yard, grow bags might be the answer you didn’t know you needed.
Let’s Grow Together
The homesteading journey isn’t always picturesque. It’s messy, transitional, and full of in-between seasons—but that’s what makes it real. And in the middle of construction zones and unfinished dreams, these little grow bags are a reminder that life doesn’t stop growing just because we’re not “there” yet.
So go ahead—grab a bag, fill it with soil, and plant something beautiful.
And when that first tomato ripens or your herbs scent the whole porch, come back and tell me about it. Let’s grow together, wherever we are.
From our almost-homestead to yours,
Lord Bless You, Michelle & Kyle
Semi Homesteaders: Dirt, Dishes & Dreams